

Payrix (formerly Integrapay)
Payrix (formerly Integrapay) is a Splynx add-on which allows customers to pay for invoices via the payment gateway - https://www.payrix.com/au/.
The add-on can work with various credit cards and bank accounts, if cards or bank account are saved in customer profiles, the add-on allows you to charge all customers using Direct debit orders.
Installation
The add-on can be installed in two methods: via the CLI or Web UI of you server.
To install the Splynx-Payrix add-on via CLI, the following commands can be used:
apt-get update
apt-get install splynx-payrix
To install it via the Web UI:
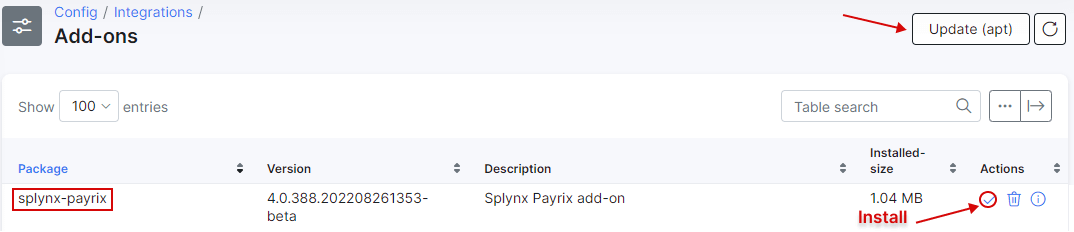
Navigate to Config → Integrations → Add-ons:

Locate or search for the splynx-payrix add-on and click on the Install icon in the Actions column, you will be presented with a window to confirm or cancel the installation, click on the OK, confirm button to begin the installation process.

Configuration
The first step is to register an account on https://www.payrix.com/au/. After registering, Payrix will send you an email with your credentials, where Bussines ID is your Username and Api User Key is your Password :

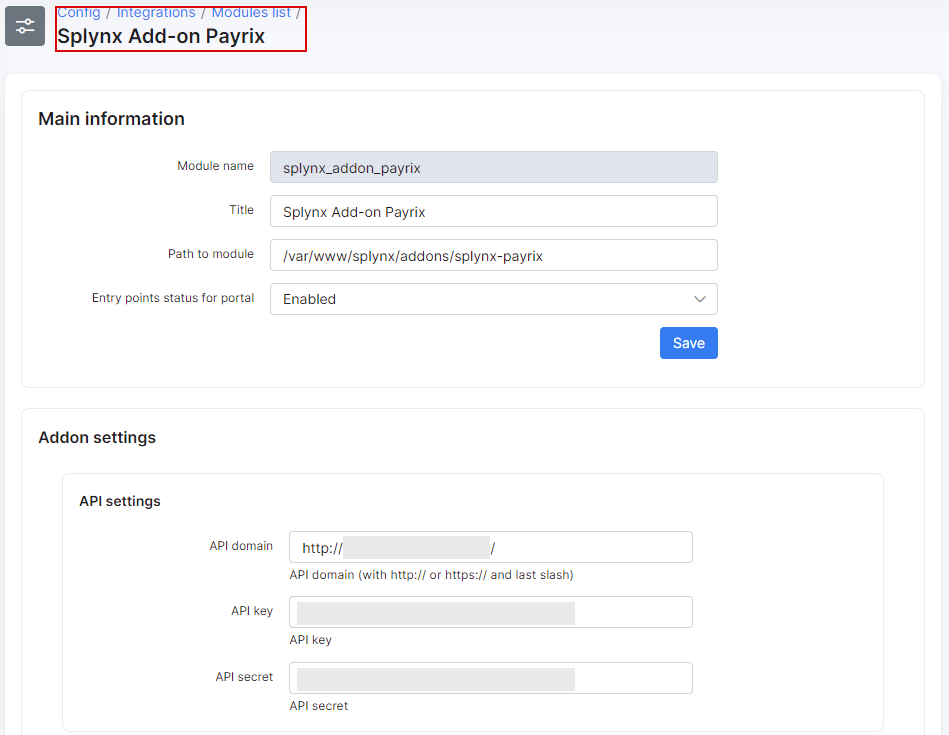
Then, you need to set your Username, Business ID and Password in Payrix API settings section of add-on config page. Navigate to Config → Integrations → Modules list and locate or search for the splynx_addon_payrix add-on module and click on the 


Main information and API settings:
-
API domain - api domain should be the same as Splynx URL. The forward slash
/is required at the end; -
API key, API secret - auto generated default values. Don't change it unless it is absolutely necessary.
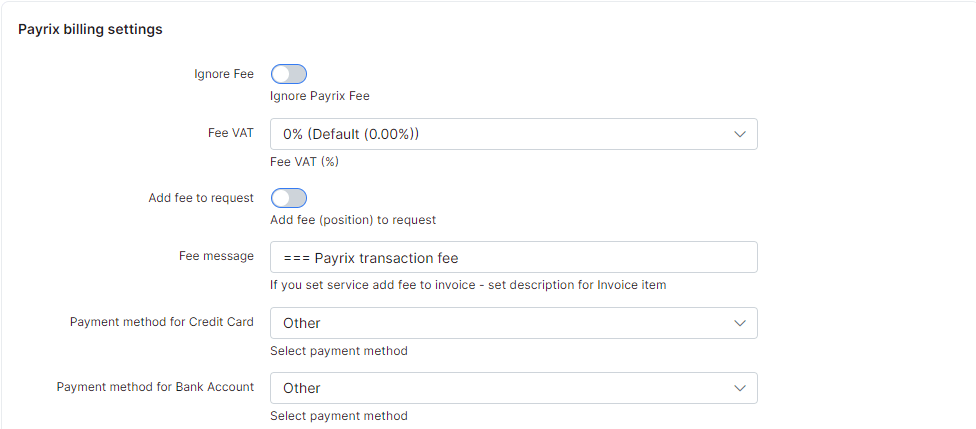
Payrix billing settings:
-
Ignore Fee - ignore Payrix fee;
-
Fee VAT - service fee VAT percent;
-
Add fee to request - add fee (position) to request;
-
Fee message - if
Add fee to requestoption is enabled, the current message will be added as description for fee item in invoice; -
Payment method for Credit Card / Bank Account - when a customer pays using this add-on, the payment will be allocated as this payment type;
-
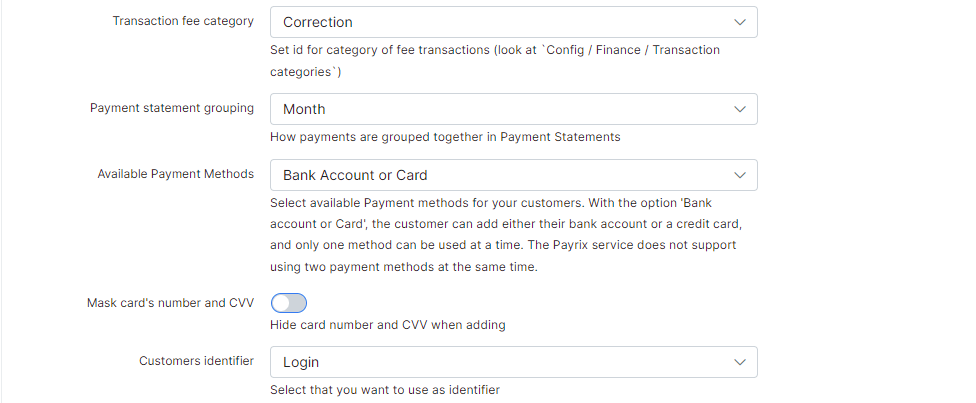
Transaction fee category - transaction category of the fee transactions;
-
Payment statement grouping - choose how to group payment statements (
Finance → Payment Statements → History) monthly or daily; -
Available Payment Methods - choose a payment method that the customer can add on Portal. Pay attention, Payrix service does not support using two payment methods at the same time. If 'Bank account or Card' option is selected, a customer can add either their bank account or a credit card and use only one method at a time;
-
Mask card's number and CVV - hide card number and CVV code when adding on the Portal;
-
Customers identifier - select what to use as identifier of customer on Payrix service side;
-
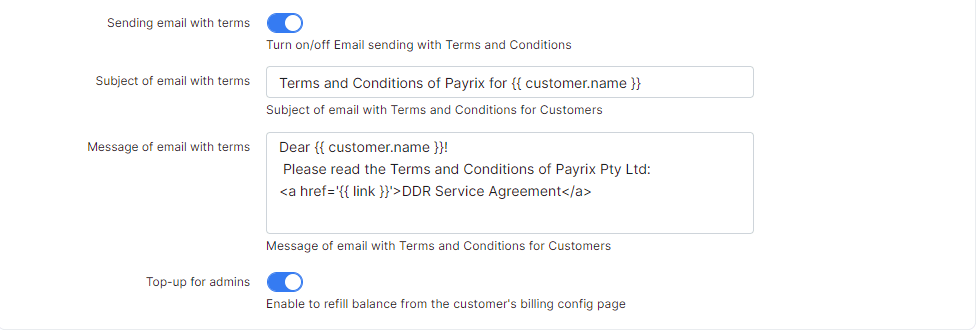
Sending email with terms - enable/disable the email sending with terms and conditions of the service to customers;
-
Subject of email with terms - subject of the email with terms and conditions of the service;
-
Message of email with terms - message of the email with terms and conditions of the service;
-
Top-up for admins - enable/disable the form to refill customer account balance on their billing configuration page (only for administrators in Splynx, see the example below).


Example
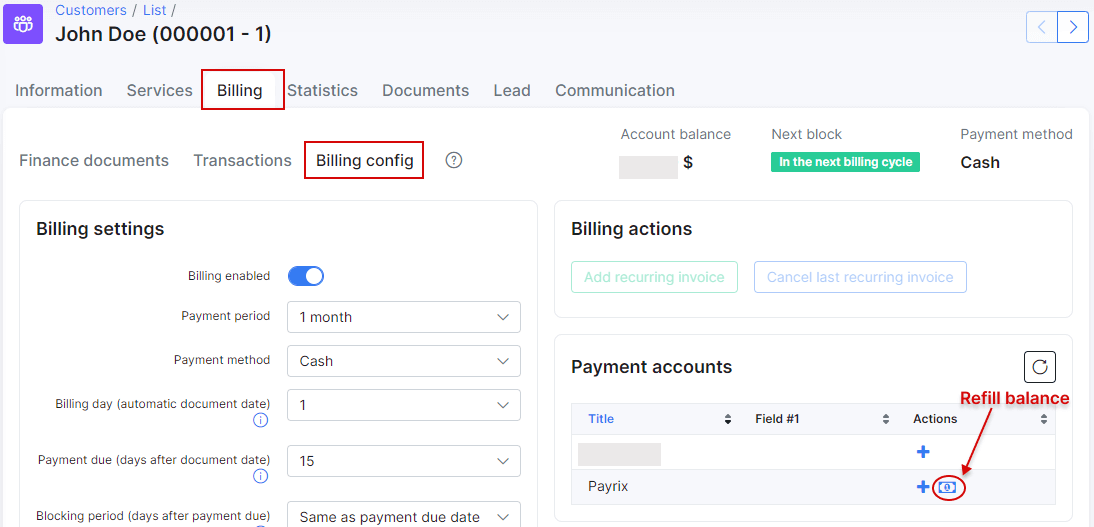
Navigate to customer billing configuration page (Billing → Billing config) and in Payment accounts section click on Refill balance icon near Payrix item.
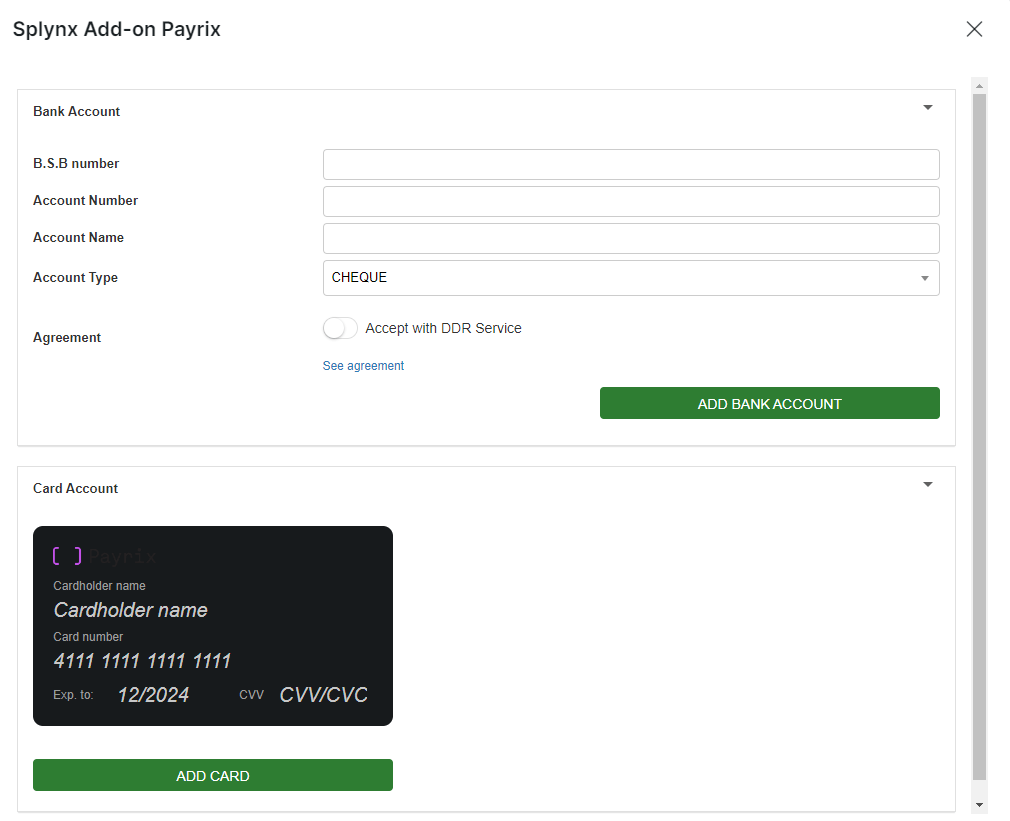
If the payment credentials are not added by the customer, the administrator can add them from this form. Pay attention, only one payment method can be used.
If the payment credentials are added by customer, e.g. credit card but Top-up for admins option is disabled on add-on configuration page, the administrator will see the next message:
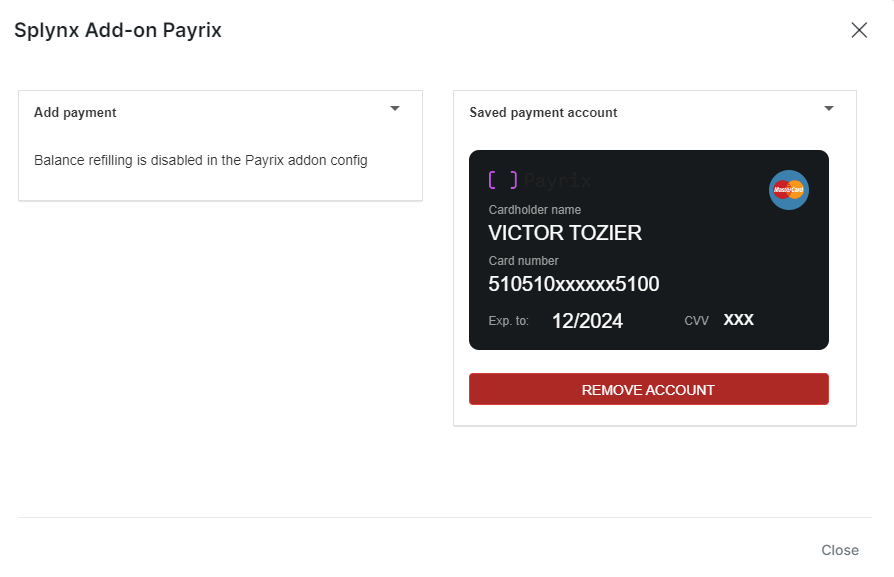
If the option Top-up for admins is enabled on add-on configuration page, the administrator can top up the customer's balance, the saved payment method will be used.
Moreover, when the credit card or bank account is added by customer as a payment method, the administrator can remove them using the top-up form on the customer's billing configuration page.
Payrix API settings:

The configuration of add-on Entry points can be found in Config → Integrations → Modules list, near the splynx_addon_payrix module item in Actions column, click on the 
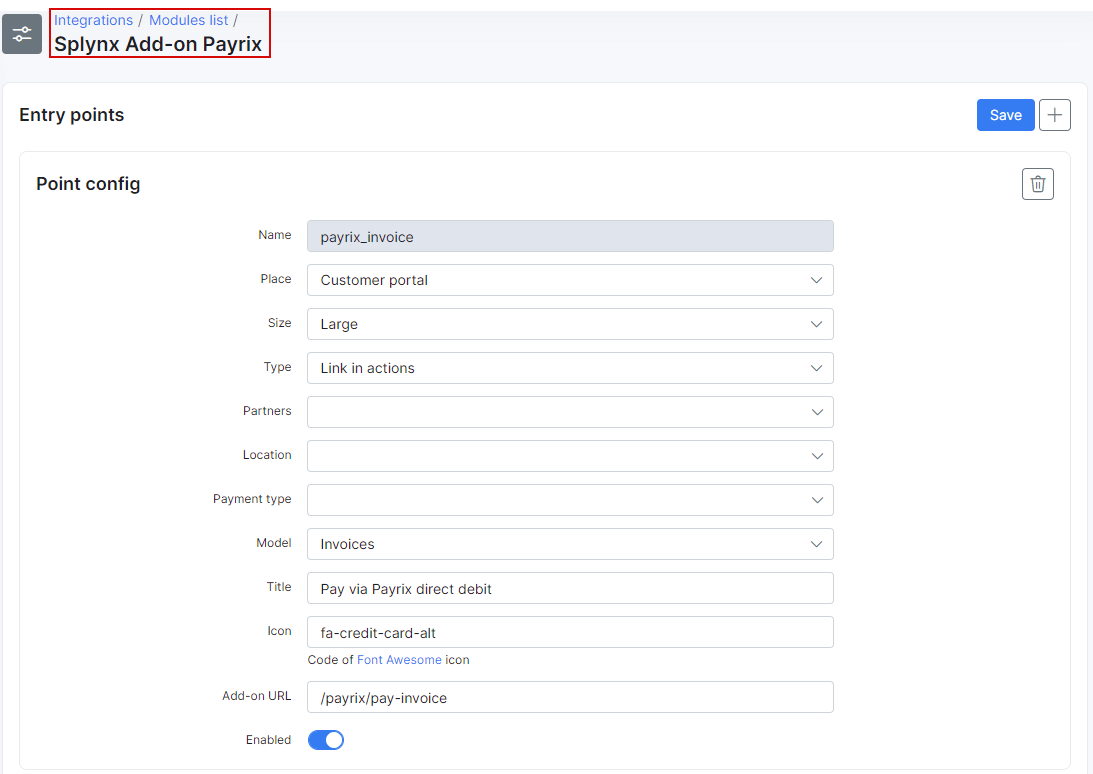
More information about Modules list can be found here.
Direct debit request agreement
After accepting the DDR agreement and saving the payment credentials, the customer will receive an email notification containing two attachments: the Payrix service agreement and the Debit Order Request form with additional details.
Invoice payment
Before making any payment it's required to add the bank account or the credit card, depends on what option customers would like to use to pay.
Also, it's necessary to enable the related entry points for Payrix add-on in Config → Integrations → Modules list.
After that a customer can login on Portal, navigate to Finance → Payrix payment credentials and type the required credentials
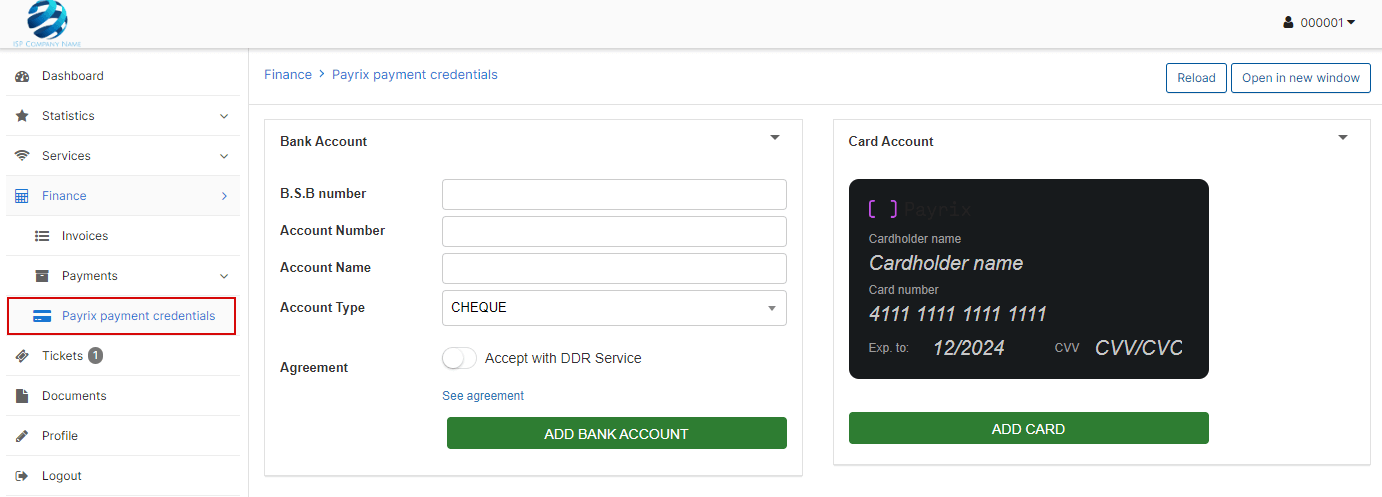
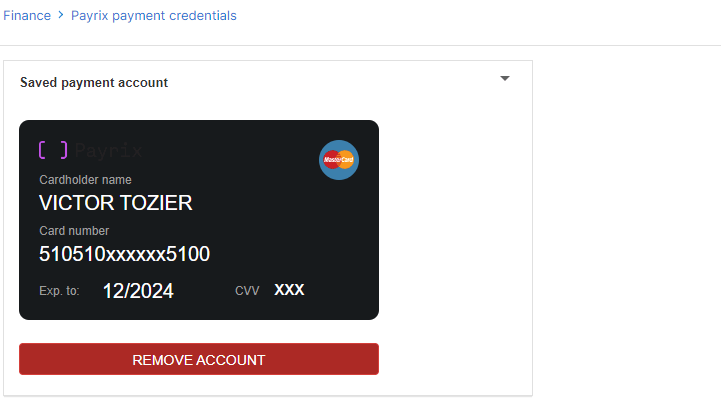

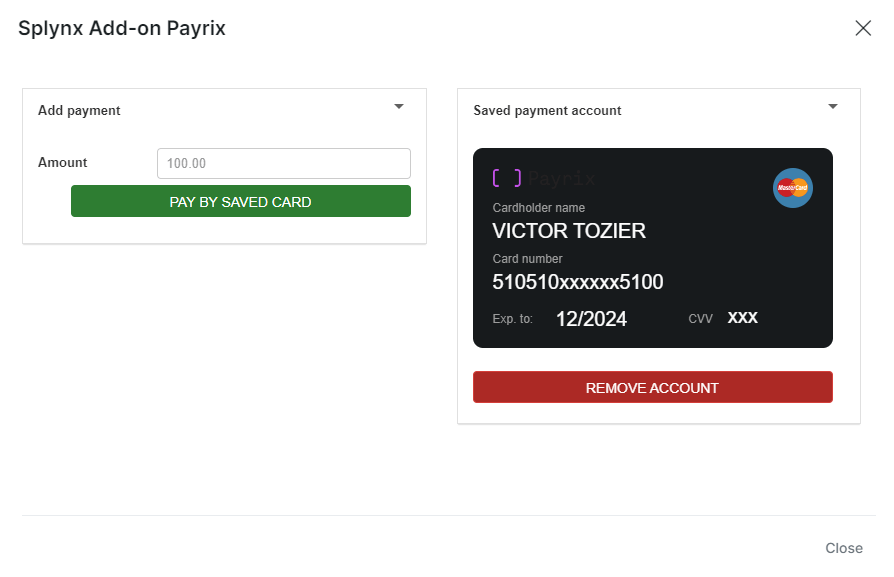
Once the configuration has been completed, customers can pay their invoices on Portal,
using the Payrix icon (the related entry point should be enabled) in Finance → Invoices:

IMPORTANT: the Service Fee value cannot be set on add-on config page, as a result, will be shown only Total to pay amount.

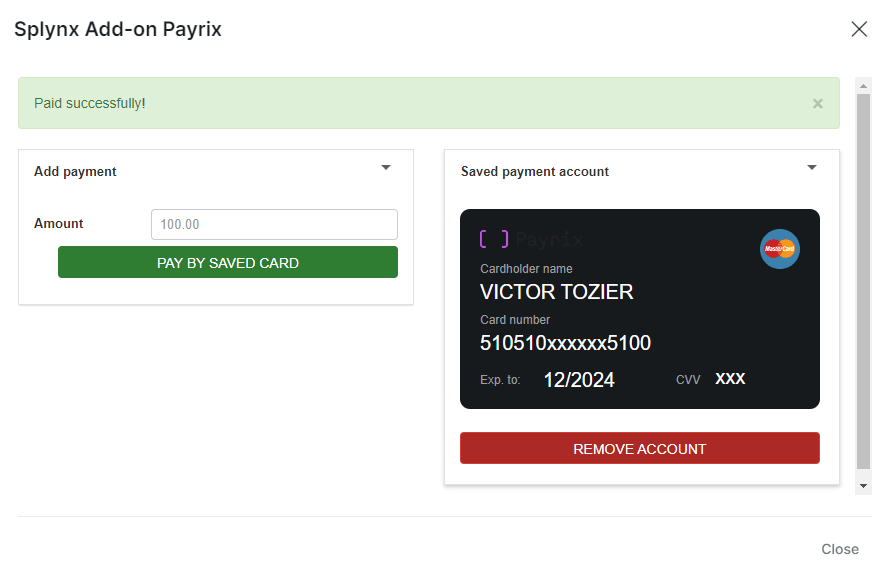
or pay directly on Portal Dashboard (the related entry points should be enabled):
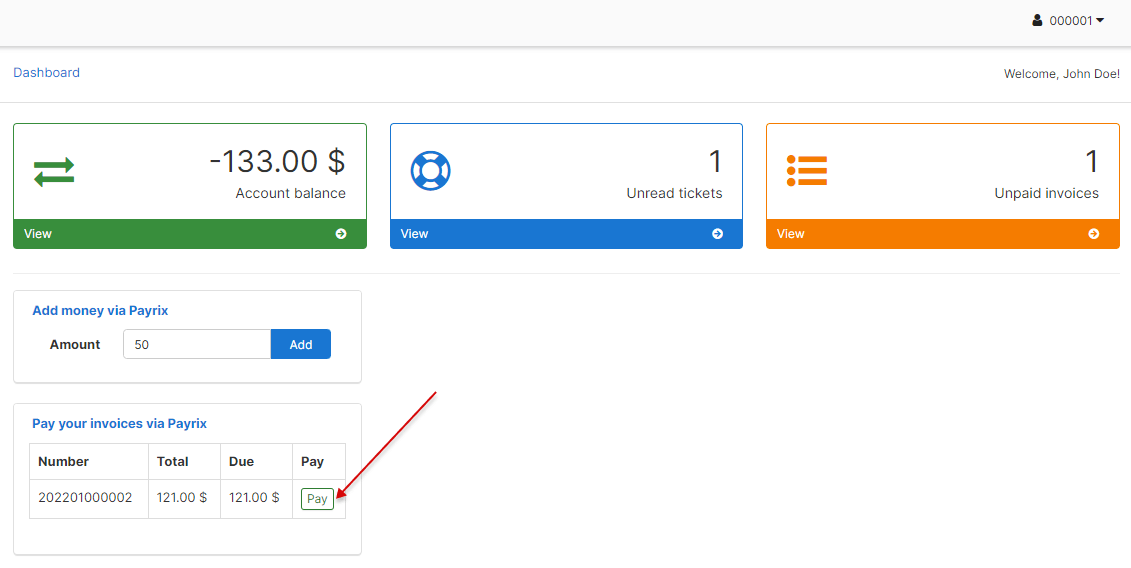

If everything goes well, a customer will see the status of the invoice marked as Paid.

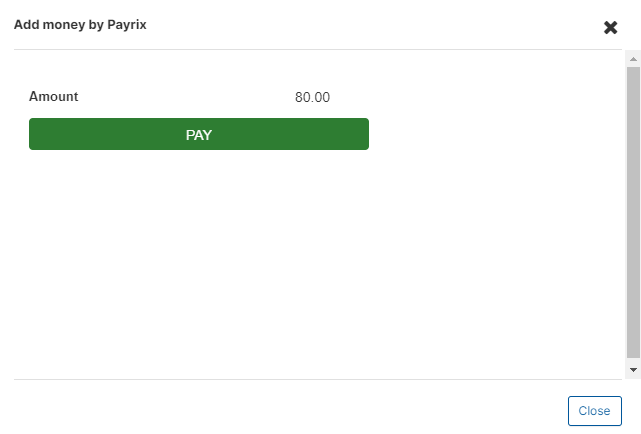
Customers can also refill their balances using Add money via Payrix menu on Portal Dashboard (payrix_add_money_on_dashboard entry point should be enabled; it will work only for customers in Splynx).

Additionally, an administrator can charge all customers using one button: navigate to Finance → Invoices, set the period and click on Charge button as depicted below:


The Charge history tab contains the charge history of all charges you have made, sometimes it is very helpful when there are finance issues.
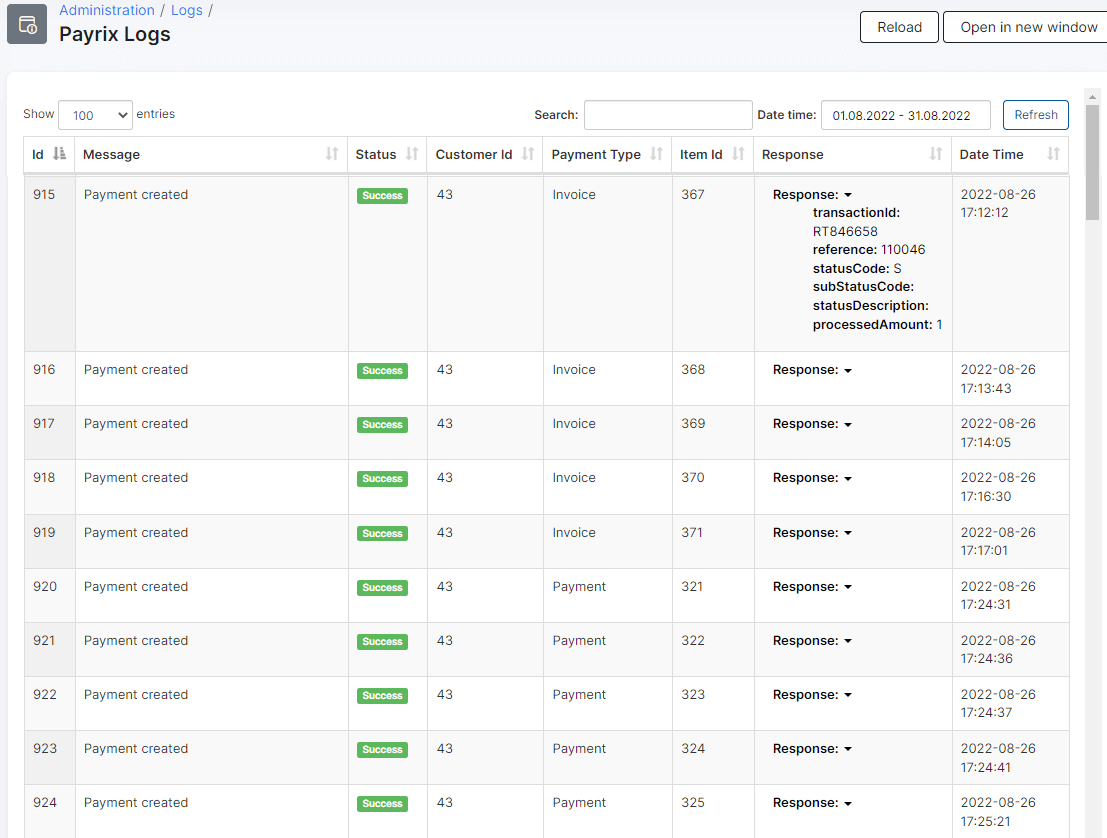
Log files
Payrix add-on logs can be found in Administration → Logs:

In Payrix Logs the different records can be viewed and its response details etc.
Direct payments
Using the payments links is the simplest way to accept payments made with credit card or bank account. This feature is available in the Payrix add-on to pay Invoices and Proforma Invoices. This provides convenience and simplicity for your customers, so the amount of on-time payments will increase. For example, you can add a payment link to the email with the (proforma) invoice. As a result, the customer can make payment quickly by clicking onto such link instead of logging in to their Portal page. In case the customer has saved the payment credentials on the Portal, they do not need to add further details when using the direct payment link in the future. If the credit card in not linked on the Portal, the payment details need to be entered each time the payment link is used.
To create a direct payment link, please use the patterns below:
To pay the Invoice:
by invoice ID
https://<splynx_domain_address>/payrix/direct-pay-invoice-by-id?item_id=<invoice_id>
by invoice number
https://<splynx_domain_address>/payrix/direct-pay-invoice?item_id=<invoice_number>
To pay the Proforma Invoice:
by proforma invoice ID
https://<splynx_domain_address>/payrix/direct-pay-proforma-by-id?item_id=<proforma_id>
by proforma invoice number
https://<splynx_domain_address>/payrix/direct-pay-proforma?item_id=<proforma_number>