Ticket feedback add-on

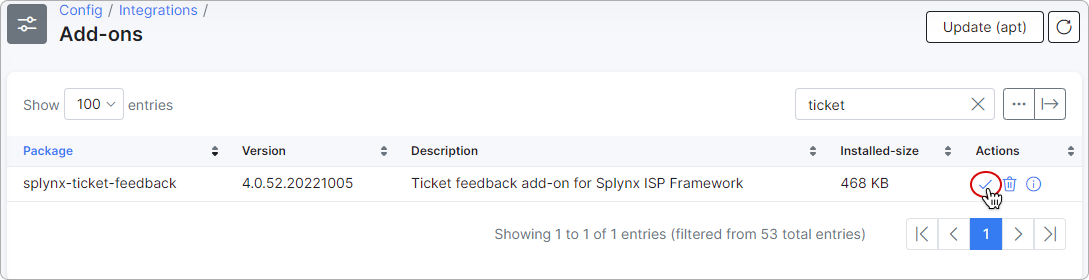
Navigate to Config → Integrations → Add-ons, search for splynx-ticket-feedback and click on the install button:
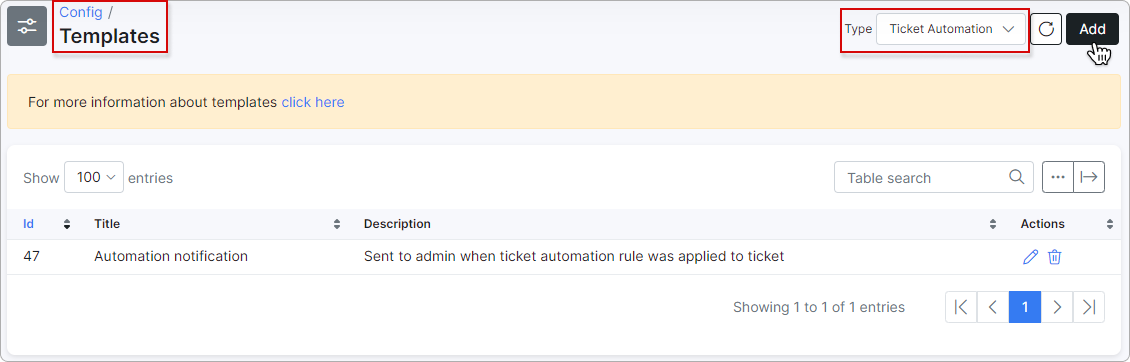
Once the installation is completed, a new template will automatically be created in Config → System → Templates under the template type Ticket Automation:
Insert the following code in the Code field:
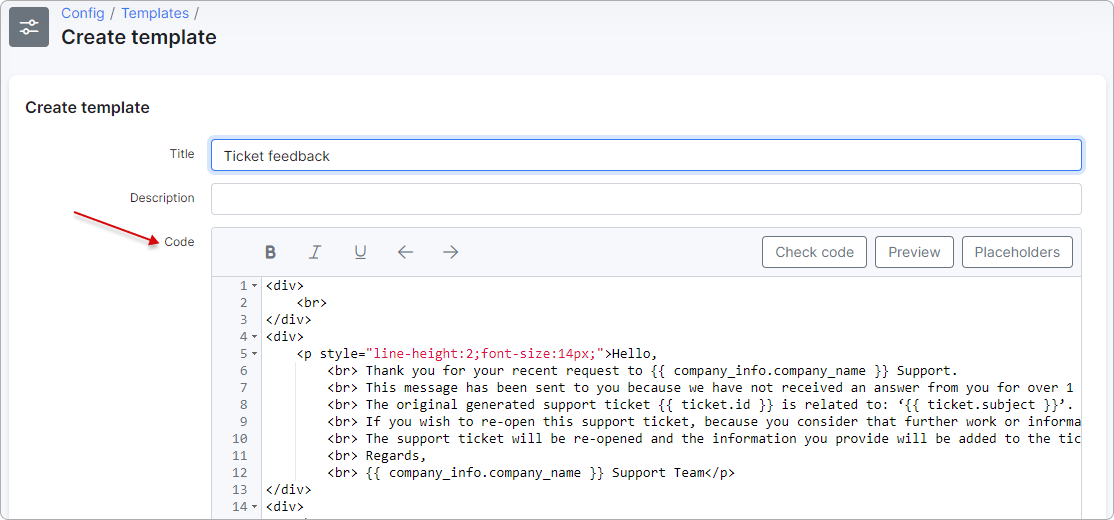
<div>
<br>
</div>
<div>
<p style="line-height:2;font-size:14px;">Hello,
<br> Thank you for your recent request to {{ company_info.company_name }} Support.
<br> This message has been sent to you because we have not received an answer from you for over 1 week.
<br> The original generated support ticket {{ ticket.id }} is related to: ‘{{ ticket.subject }}’.
<br> If you wish to re-open this support ticket, because you consider that further work or information is needed, or for any reason, please reply to this email.
<br> The support ticket will be re-opened and the information you provide will be added to the ticket.
<br> Regards,
<br> {{ company_info.company_name }} Support Team</p>
</div>
<div>
<br>
</div>
<table style="width:100%;">
<tbody>
<tr style="height:45px;">
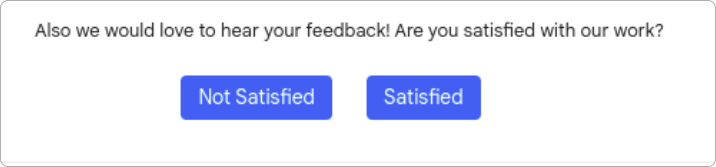
<td colspan="2" style="text-align:center;">Also we would love to hear your feedback! Are you satisfied with our work?</td>
</tr>
<tr style="height:45px;">
<td style="width:50%;text-align:right;"><a class="btn btn-primary" href="https://my.splynx.com/ticket-feedback?ticketId={{ ticket.id }}&customerId={{ ticket.customer_id }}&rate=0" rel="noreferrer noopener" style="display: inline-block;border-radius: 4px;font-weight: 400;line-height: 1.6;text-align: center;text-decoration: none;vertical-align: middle;cursor: pointer;padding: 4px 12px;font-size: 14px;color: #fff;background-color: #357bf2;border-color: #357bf2;margin-right: 10px;" target="_blank">Not Satisfied</a></td>
<td style="width:50%;text-align:left;"><a class="btn btn-primary" href="https://my.splynx.com/ticket-feedback?ticketId={{ ticket.id }}&customerId={{ ticket.customer_id }}&rate=1" rel="noreferrer noopener" style="display: inline-block;font-weight: 400;line-height: 1.6;text-align: center;text-decoration: none;vertical-align: middle;cursor: pointer;padding: 4px 12px;font-size: 14px;border-radius: 4px;color: #fff;background-color: #357bf2;border-color: #357bf2;margin-left: 10px;" target="_blank">Satisfied</a></td>
</tr>
</tbody>
</table>You can edit this template according to your needs.
Once this is done, navigate to Config → Helpdesk → Ticket Automation and create a new rule with the following parameters:
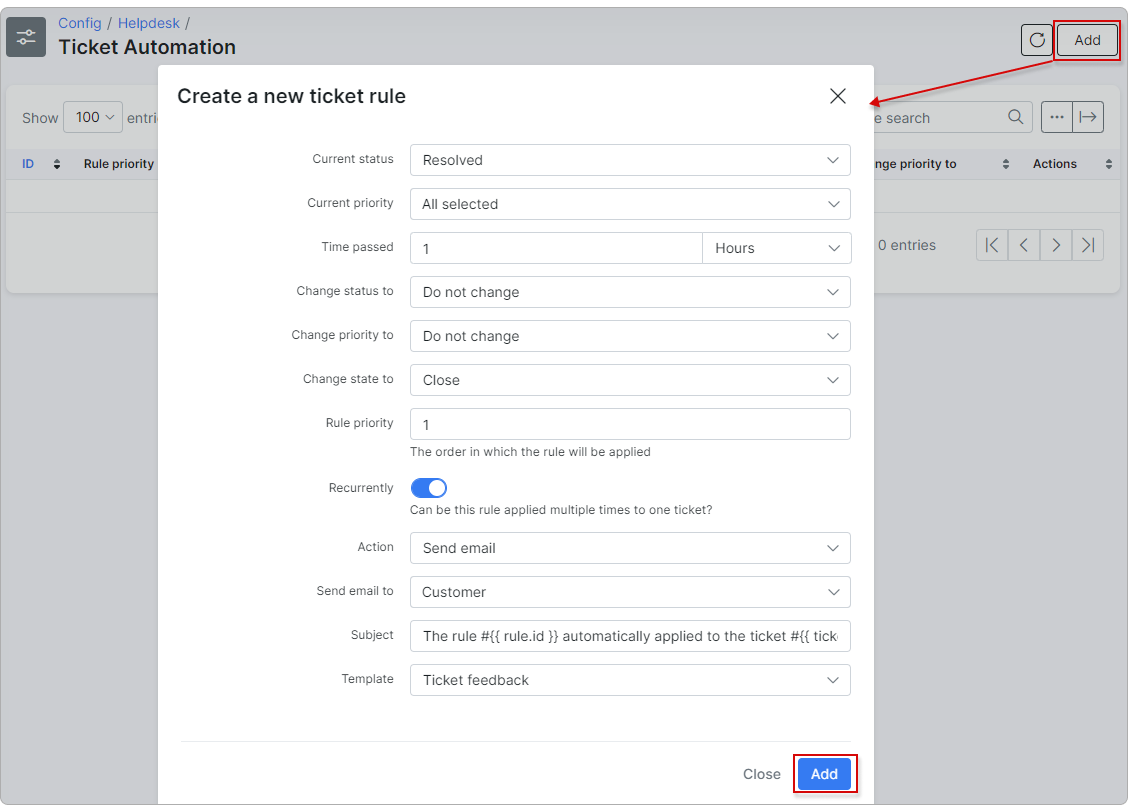
In this example - All tickets with the Resolved status will be closed in 1 hour (being in the resolved status for 1 hour), and the customer will receive an email with the survey buttons:
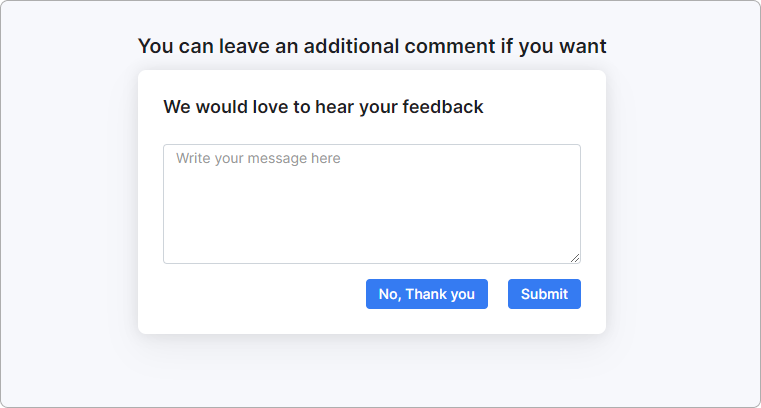
The customer can then leave an optional comment about this ticket after selecting either survey button.
The admin will then receive a new ticket message with the reaction and comment in the closed ticket:

Lastly, you can view the customer's feedback under Administration → Reports → Ticket reports:
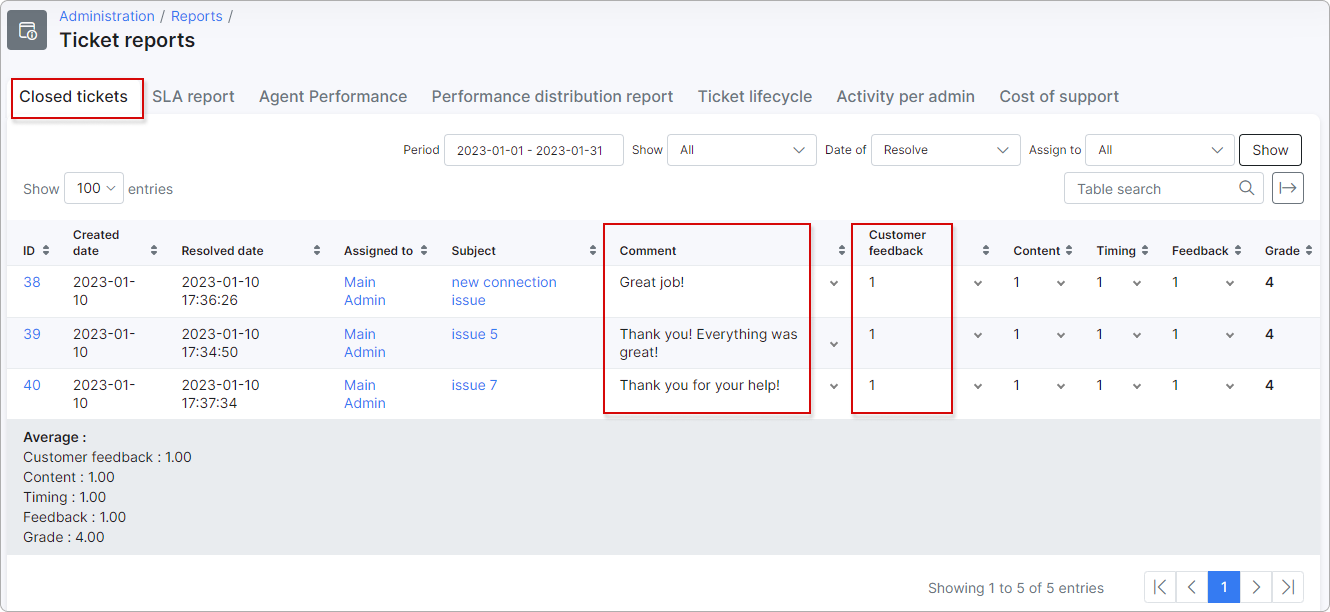
In the Customer feedback column:
1 - satisfied;
0 - not satisfied.

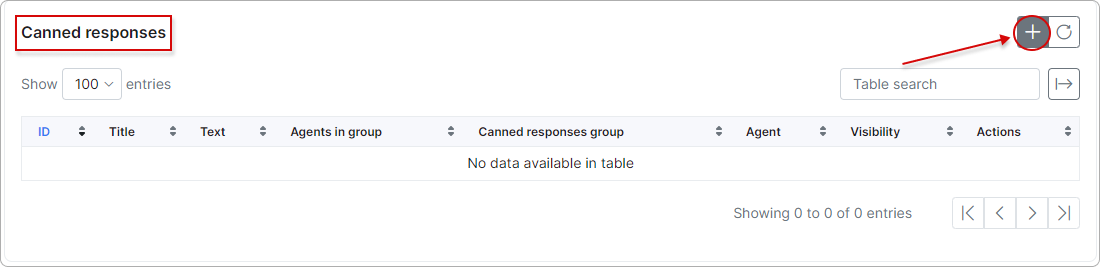
You can also create a new canned response under Config → Helpdesk → Canned responses with the feedback buttons.
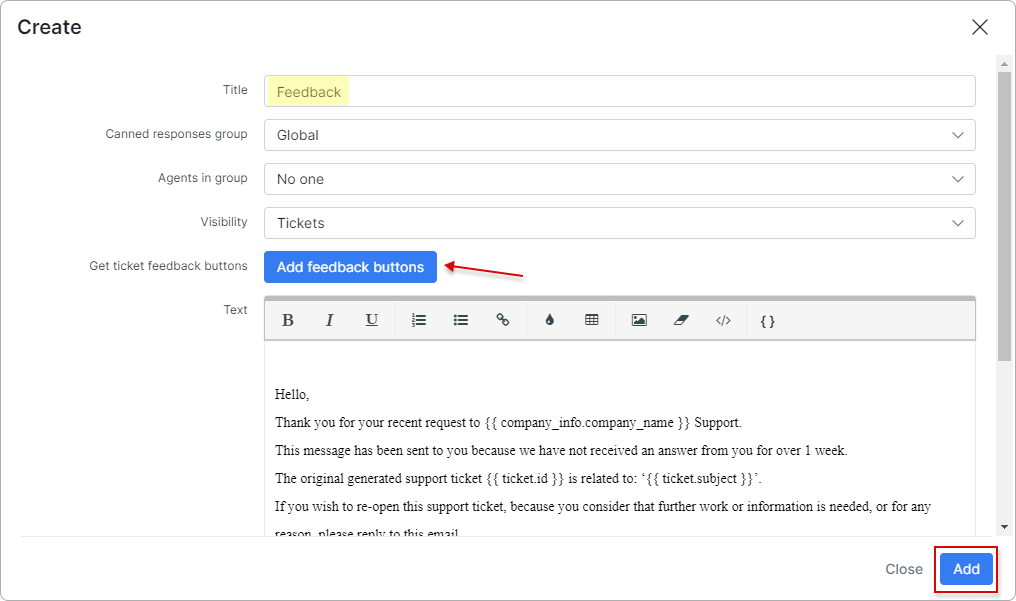
Add the relevant title, click on Add feedback buttons - the template will be inserted automatically. Then click the Add button.
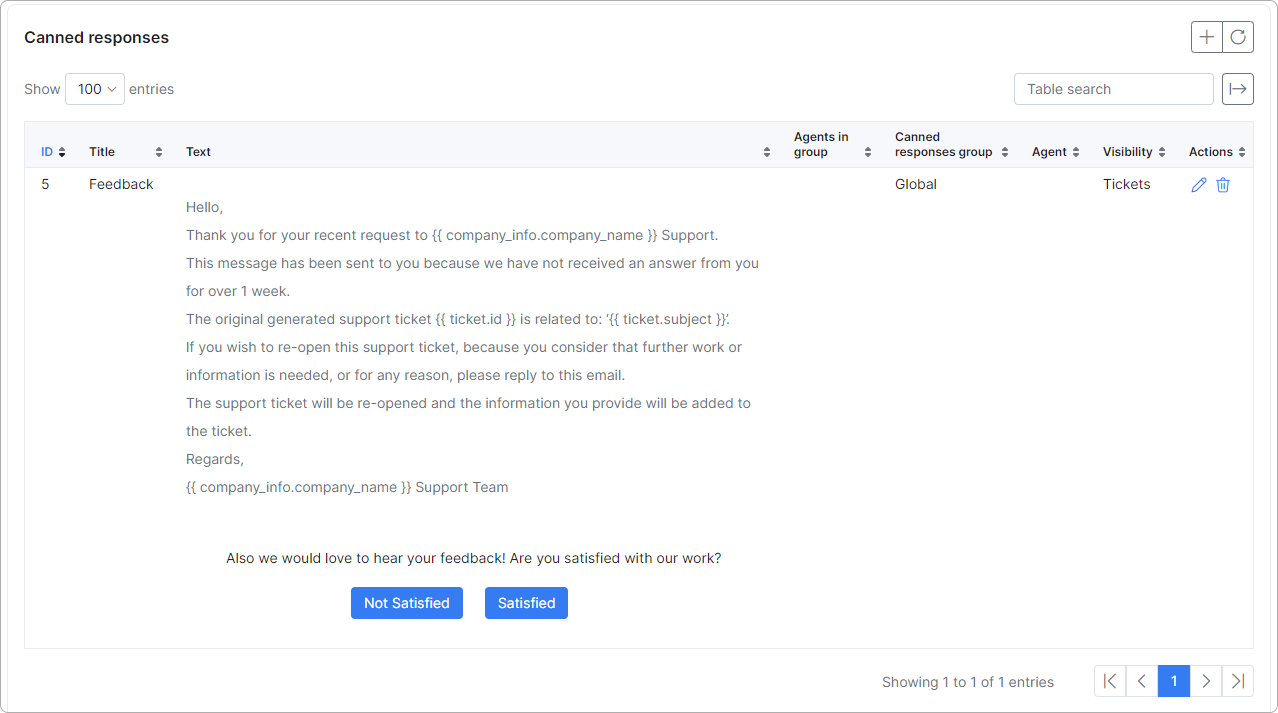
The new canned response will appear in the Canned responses list:
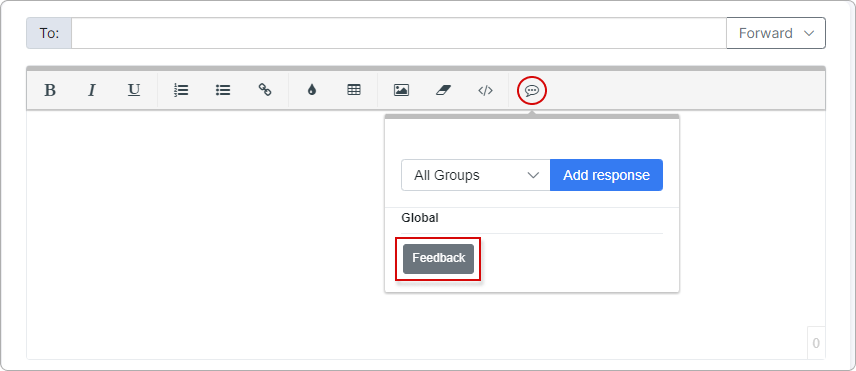
Now you can use this canned response when replying to tickets: